Building a Reliable Barrier with Your Own Hands
Undertaking a Small Animal Fence DIY project offers a rewarding way to create a custom enclosure that perfectly suits your space and needs. A hands-on approach allows for attention to detail that can make a meaningful difference in security and longevity. This step-by-step guide walks through the process of building a durable and escape-resistant structure, from initial planning to final inspection.
Planning Your Project and Gathering Resources
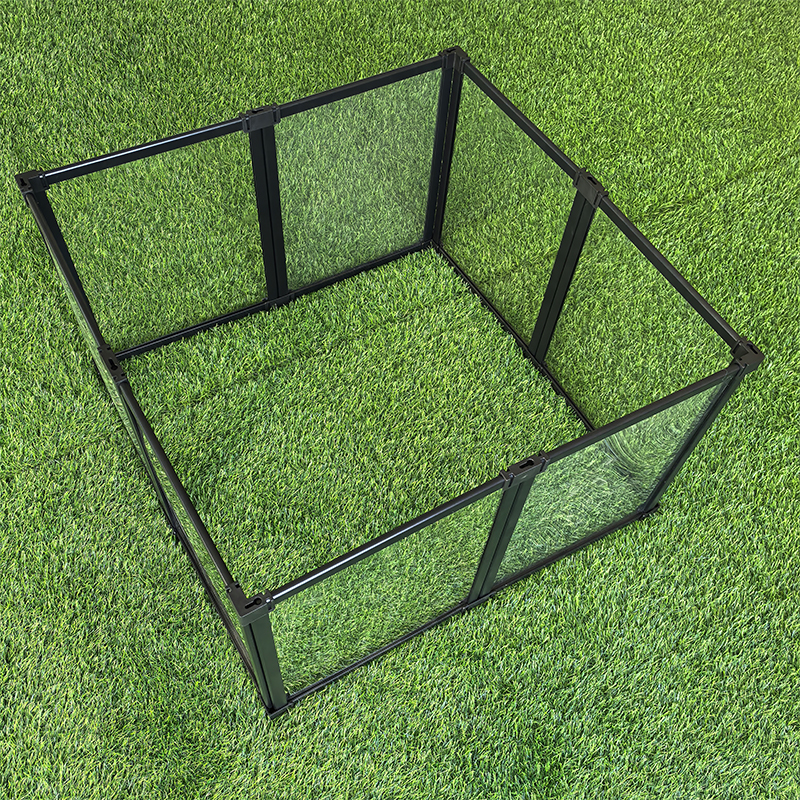
Thorough planning is the foundation of a successful build. Begin by clearly defining the purpose: is it to protect a vegetable garden from rabbits, to create a safe outdoor run for chickens, or to provide a pet rabbit with a secure play area? The intended animal dictates critical design elements. Sketch the layout, marking the location of corners and gates. Calculate the required materials: sturdy posts (wood or metal), appropriate wire mesh (often galvanised hardware cloth with a small grid), fasteners, gate hardware, and tools like a post-hole digger, level, wire cutters, and a staple gun. Investing in quality materials from the start contributes significantly to the finished project’s effectiveness.
Establishing a Solid Foundation with Posts
The strength of the entire fence relies on its supporting posts. Using your plan, mark the positions for corner, end, and line posts. Dig holes to a depth that accounts for local frost lines, typically deeper than the height of the above-ground post for stability. Set your corner posts first, using a level to ensure they are perfectly plumb, and secure them with packed soil or concrete. Once corners are set, run a guide string between them to align your line posts accurately as you set them. Consistent post spacing, usually between 6 and 8 feet apart, prevents the wire mesh from sagging over time.
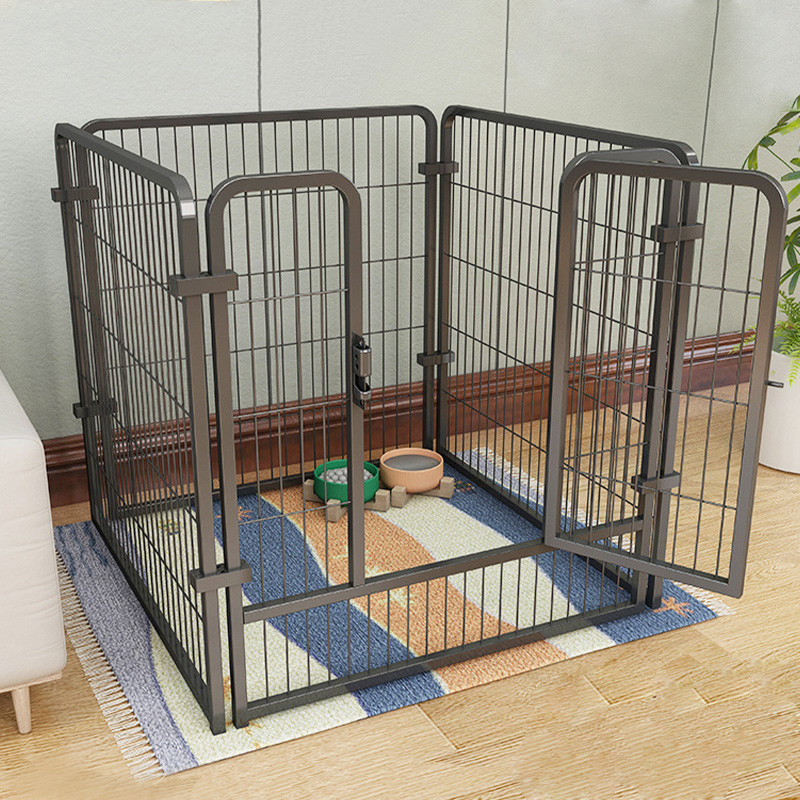
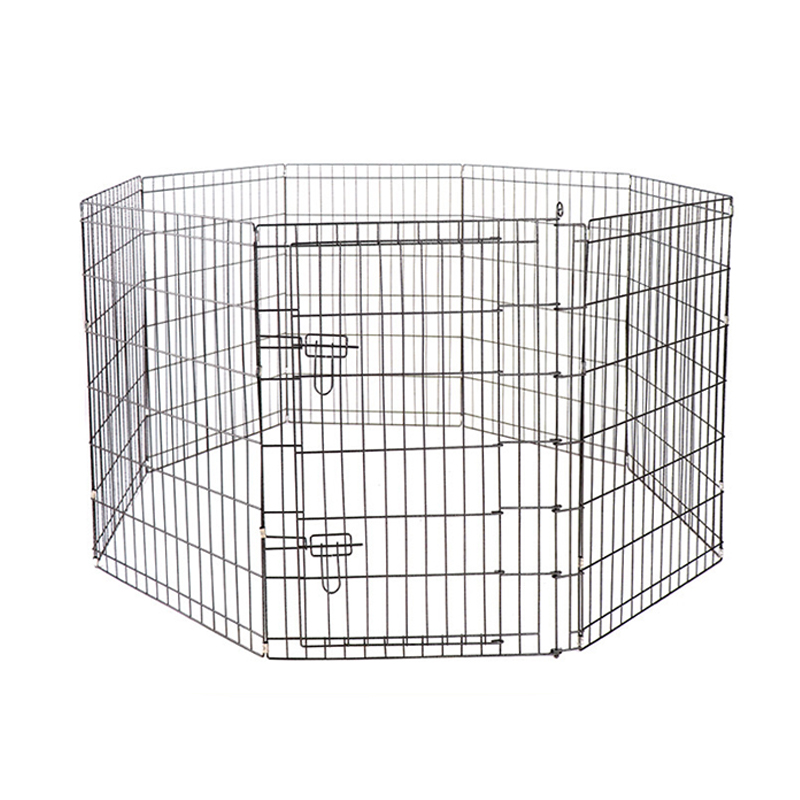
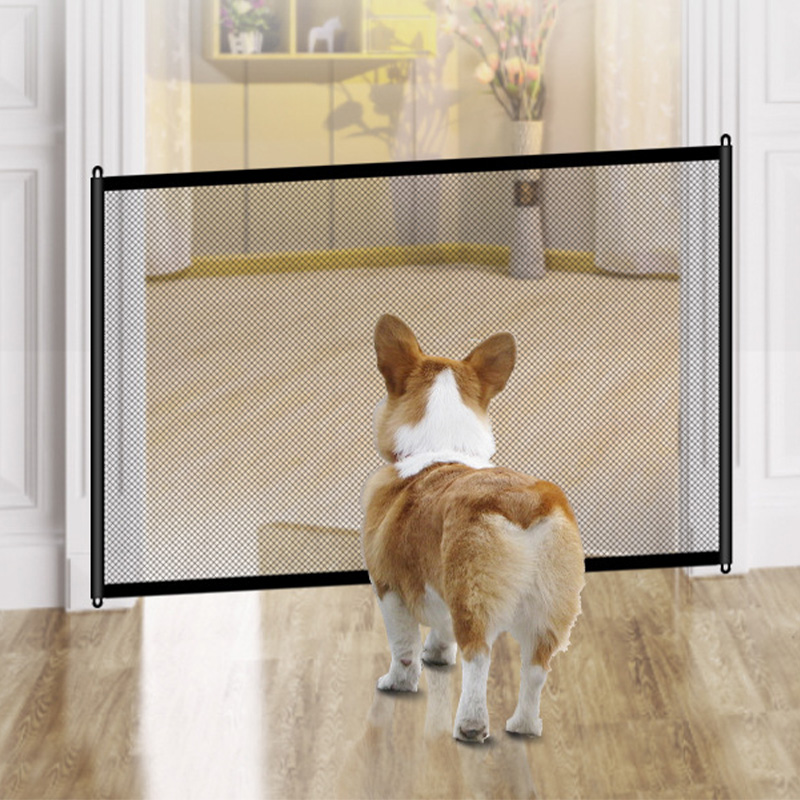
Attaching the Wire and Fortifying Against Escapes
Unroll the wire mesh along the inside of your post line. Starting at one corner, use fencing staples or u-nails to attach the mesh securely to each post. Wear heavy-duty gloves during this process. A key step for preventing escapes by digging animals is to create an underground barrier. Before backfilling soil, bend the bottom 12 inches of the wire mesh outward to form a 90-degree “L” shape that lies flat against the ground, extending away from the enclosure. This apron can then be covered with soil or mulch. For the main fence, ensure the mesh is taut and securely fastened at regular intervals along each post and across the top.
Installing the Gate and Conducting a Final Review
A gate is often the weakest point. Construct or purchase a gate frame that is slightly smaller than the gate opening for easy swing. Attach the same wire mesh to the gate frame. Hang the gate using heavy-duty hinges and equip it with a secure, animal-proof latch—consider a sliding bolt or a double-latch system. After installation, conduct a thorough review. Walk the perimeter, checking for any gaps, loose wires, or insecure fasteners. Gently push on the fence from various points to test stability. Look at the enclosure from the perspective of the animal inside, identifying any potential footholds or weaknesses. This meticulous final check transforms a construction project into a trustworthy barrier.